In the previous post, we created a ListTile component to display a ToDo item. In this post, we will see how to use that component. We will also place other widgets and design a screen.
Here are the steps:
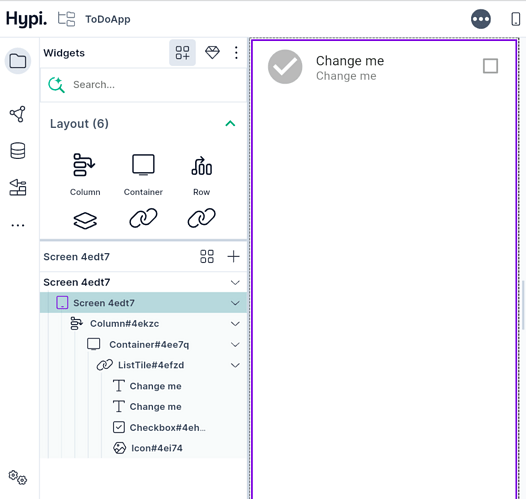
- Rename the component as ListTile by clicking the automatically created Component name.
- Drag a Column over the screen.
- Now drag the component inside a Column. This way, the component will be placed on the screen.
Now let’s place a floating action button at the bottom of the screen.
- From the widgets panel, drag a floating action button.
- Add an Icon as a Child widget by dragging an Icon inside Floating Action Button.
- Choose + sign as an Icon.
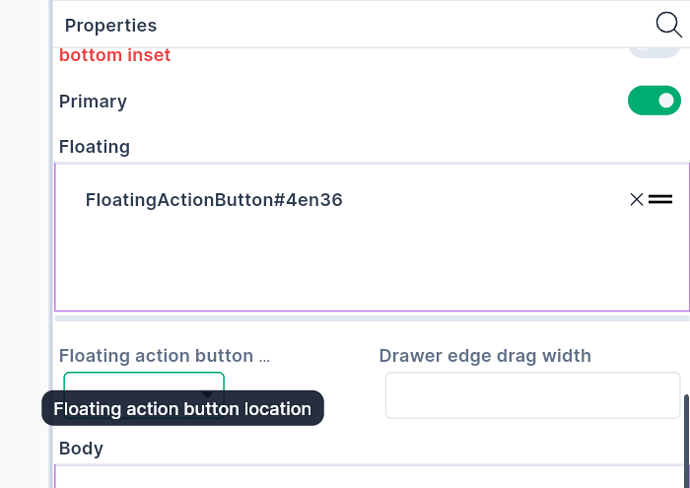
- Under the screen Properties, we can choose Floating Action Button Location. Choose the location as Center Docked.
This completes our initial screen.
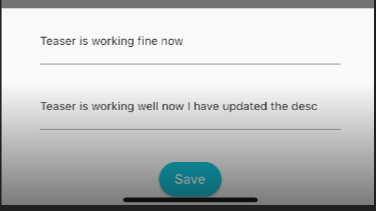
To add a ToDO item, we will design the following screen.

This is a component that will open after clicking Floating Action Button with a + sign.
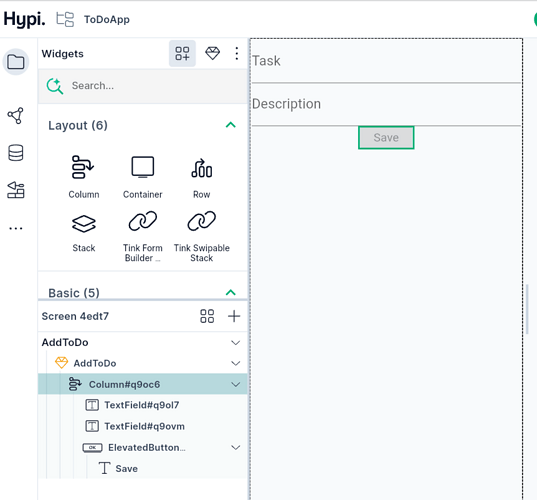
Here are the steps to design this component.
- Add the component by clicking the + sign under components.
- Make its width 100% and Reset the color.
- Add a Column
- Add two Text Fields. Label them as Title and Description.
- Add Elevated Button. Label it as a Save button.
In the next post, we will see how to open the above component by clicking the floating action button.
Watch below video tutorial for this guide!


